 Help Center
Currently, there's no option to duplicate a Site automatically. Instead, you'll have to assign any Topics you need and copy all of the necessary settings from the original Site to a new one manually.
While following this guide, it can be helpful to have the original Site open, so you can refer back to it as necessary, and work with the new Site in a separate browser tab.
Set up a new Site:
Create a new Site
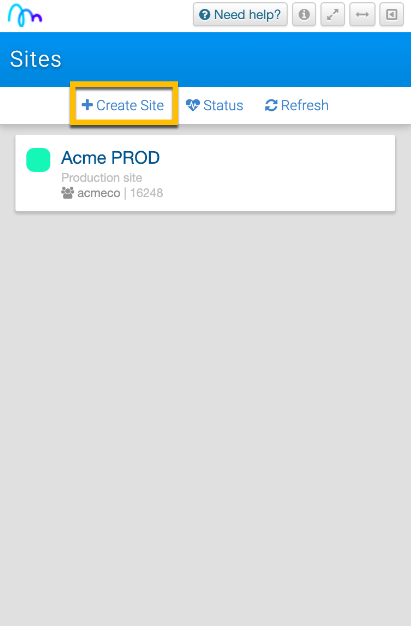
- Create a new Site by clicking the Create Site button in either the Authoring Tool or Inline Manual Portal:

Assign Topics (Optional)
Typically, if you want to duplicate a Site, you'd also like the content you've created on the original Site to be available on the new Site. Here's how:
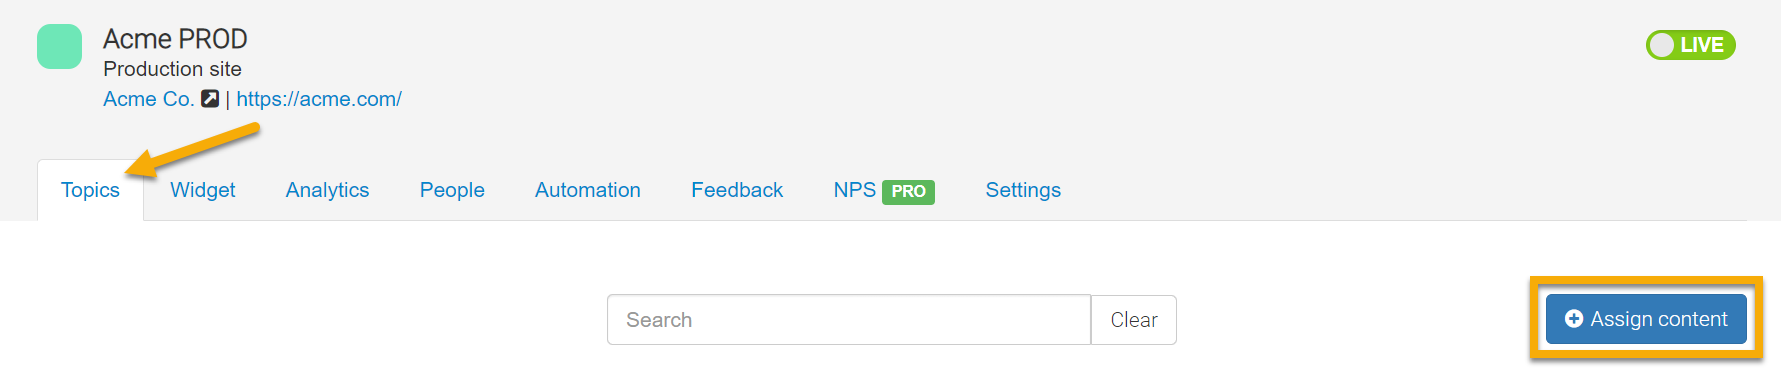
- While viewing the new Site on the Portal, click the Topics tab, then the Assign content button.
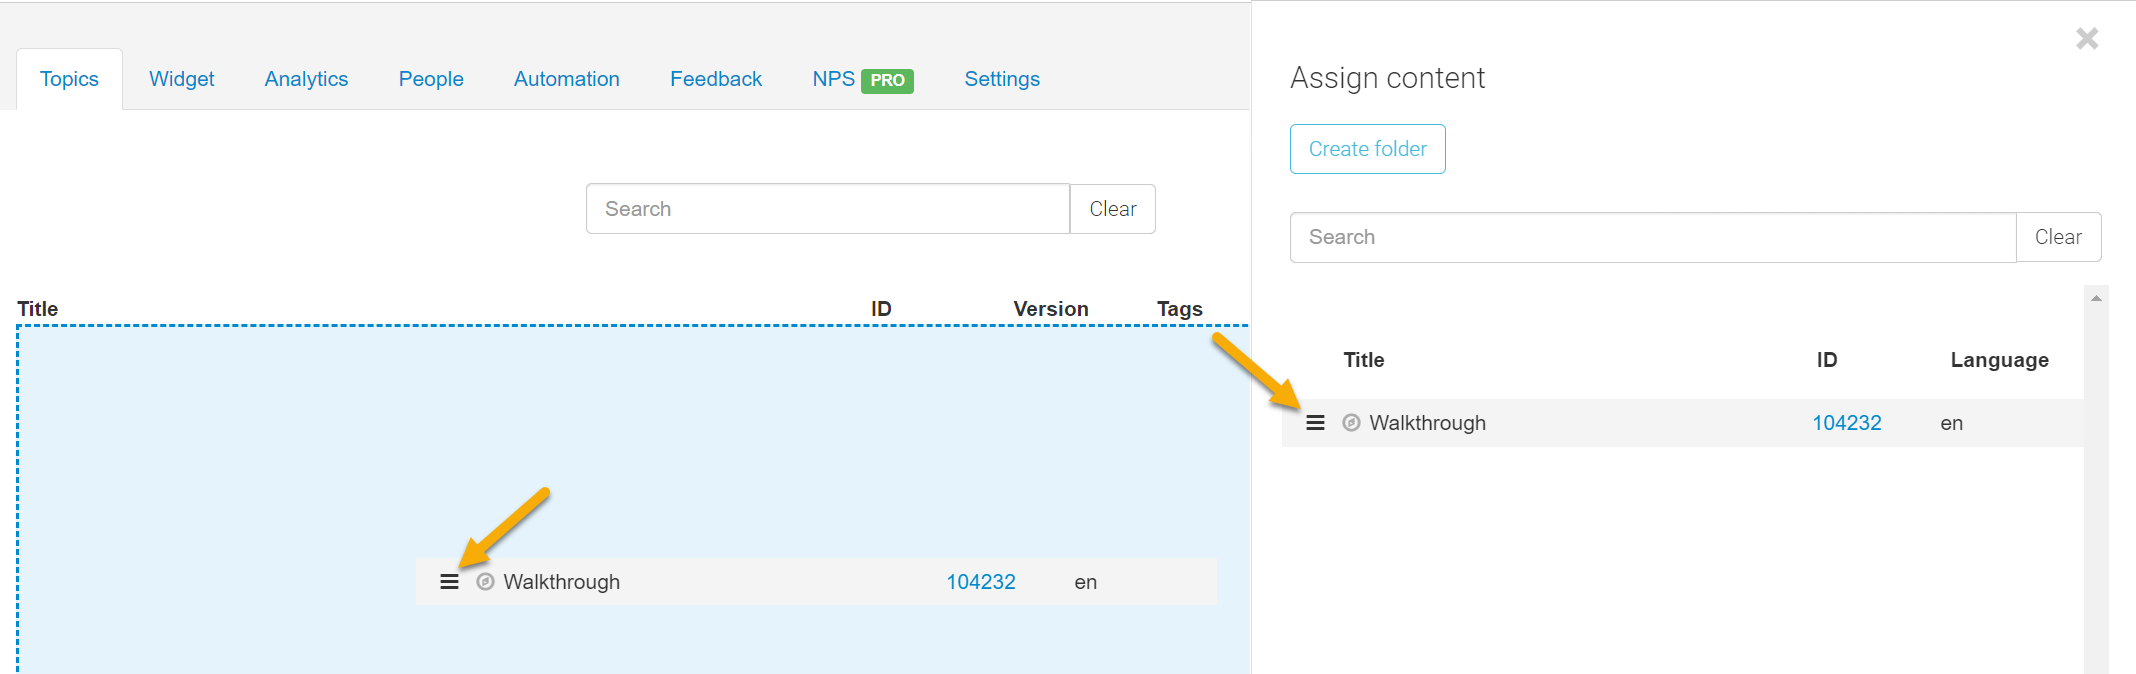
- You'll see the "Assign content" sidebar, which contains all the Topics that can be assigned to the new Site. Drag and drop the necessary Topics from the sidebar to the new Site's Topics tab.
- When you're finished assigning Topics, Save and Publish your changes.

Add Content to the Widget (Optional)
If the Site you want to duplicate uses the Widget, and you've assigned all necessary Topics to the new Site, then you should add Topics to the new Site's Widget to ensure it's the same as the original Site. Just follow these steps:
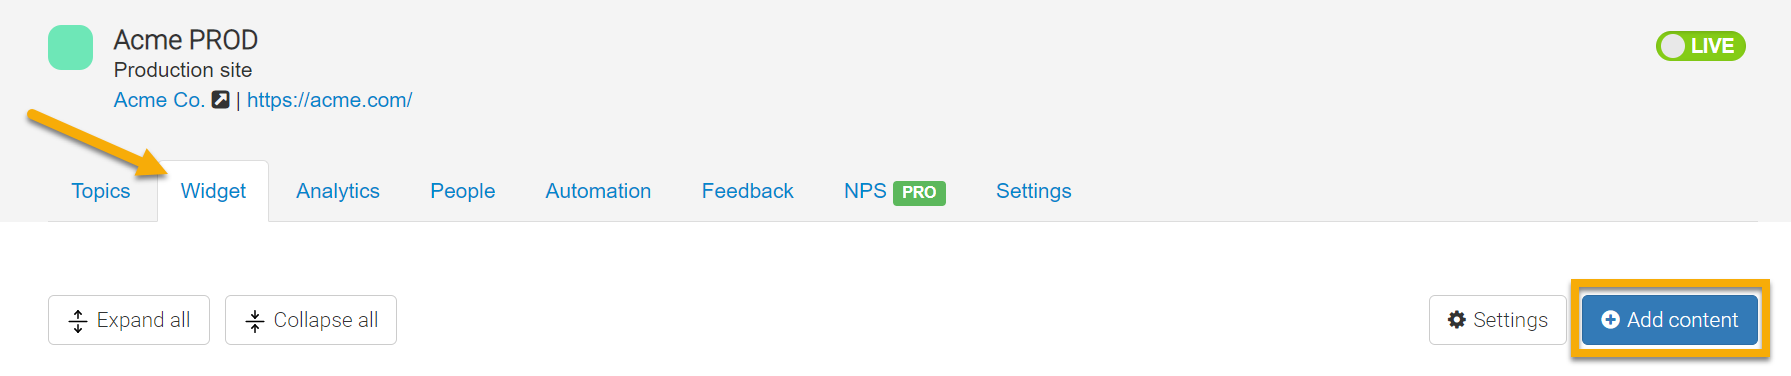
- While viewing the new Site on the Portal, click the Widget tab, then the Add content button.
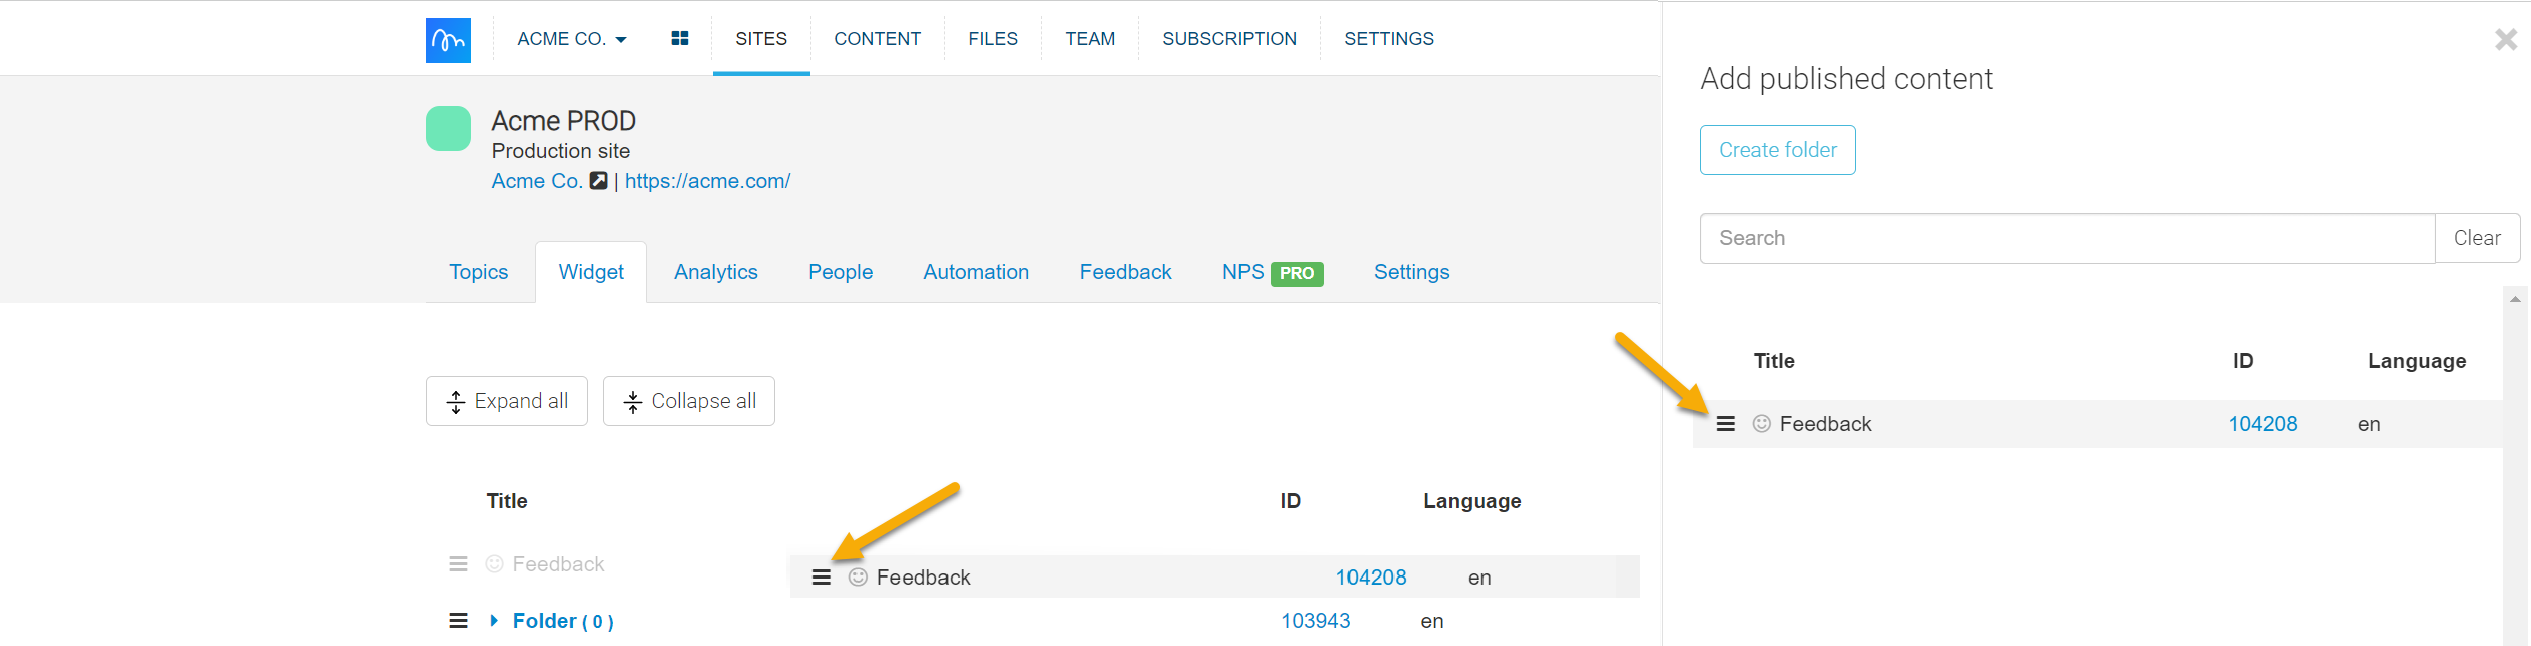
- Clicking the Add content button brings up the Add published content sidebar, showing all the Topics that can be added to the Widget. Drag and drop the necessary Topics from the sidebar to the new Site's Widget tab, making sure to maintain the same order and structure as the original Site:
- Then, click the Save and publish button:

Enable Analytics and People Tracking (Optional)
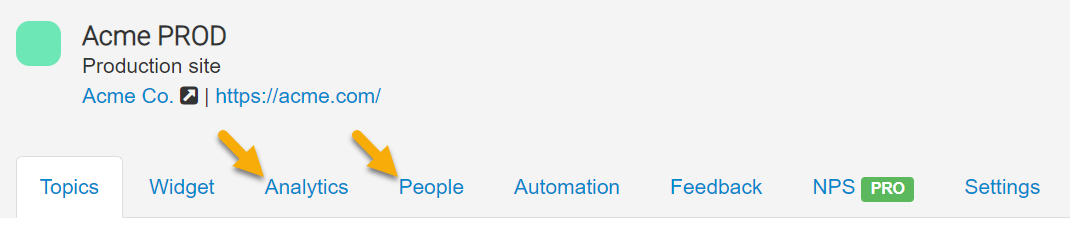
Check the Analytics and People tabs of your original Site. If Analytics and People Tracking are enabled there, you'll probably want to enable them on the new Site.
You can read more about these features and how to enable them in our Analytics guide and People Tracking guide.
Additionally, if People Tracking is enabled on the original Site and uses Segmentation, you may want to recreate your Segments there. We have a guide on creating and managing Segments that explains the process in more detail.
Recreate Automation (Optional)
If your original Site uses Automation, and you've assigned the necessary Topics to the new Site, enabled Analytics, and enabled People Tracking, you'll likely want to recreate those Autolaunchers for use on the new Site.
Check the Automation tab on your original Site. If you've created Autolaunchers there and want them on the new Site, you should inspect their details and the rules you've set up by clicking their Edit buttons, then recreate those Autolaunchers on the new Site.
Copy settings to the new Site:
Open the original Site's Settings tab
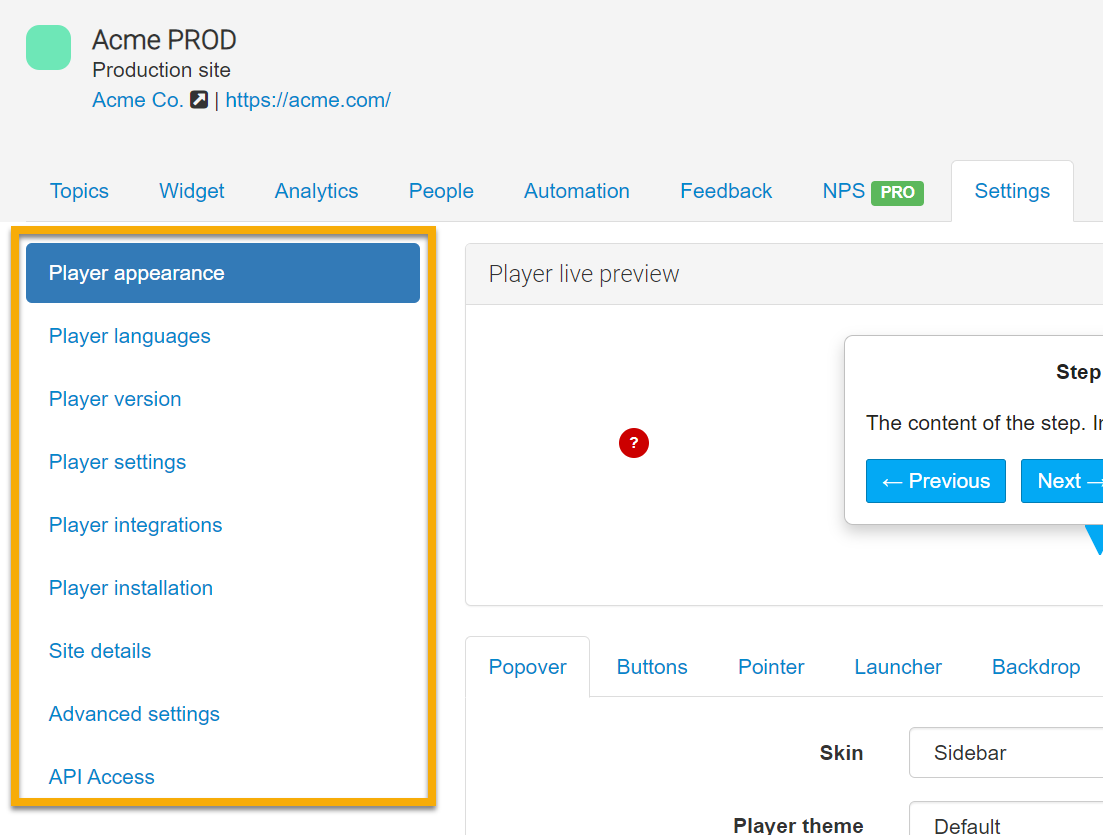
While viewing the Site you want to duplicate, click the Settings tab. On the left side of the page, you'll see a menu with the various sections of the Site's Settings:
Duplicate the original Site's settings in the new Site
From this point, you'll be switching back and forth between the original Site and the new Site quite regularly, manually copying settings from the original to the duplicate. It's handy to keep two tabs open in your browser: one with the original Site open to its Settings tab and the new Site open to its own Settings tab.
Here are the sections of the Settings tab, in order, which you should check in the original Site, then manually duplicate on the new Site as necessary, to create a replica:
- Player appearance:
Player appearance settings change the look of the content you create in Inline Manual. You can find a more detailed description of the different fields in our guide on Player appearance customization.
It's important to note that the Player appearance section has its own set of tabs, each with its own settings that you'll need to check and duplicate in the new Site:
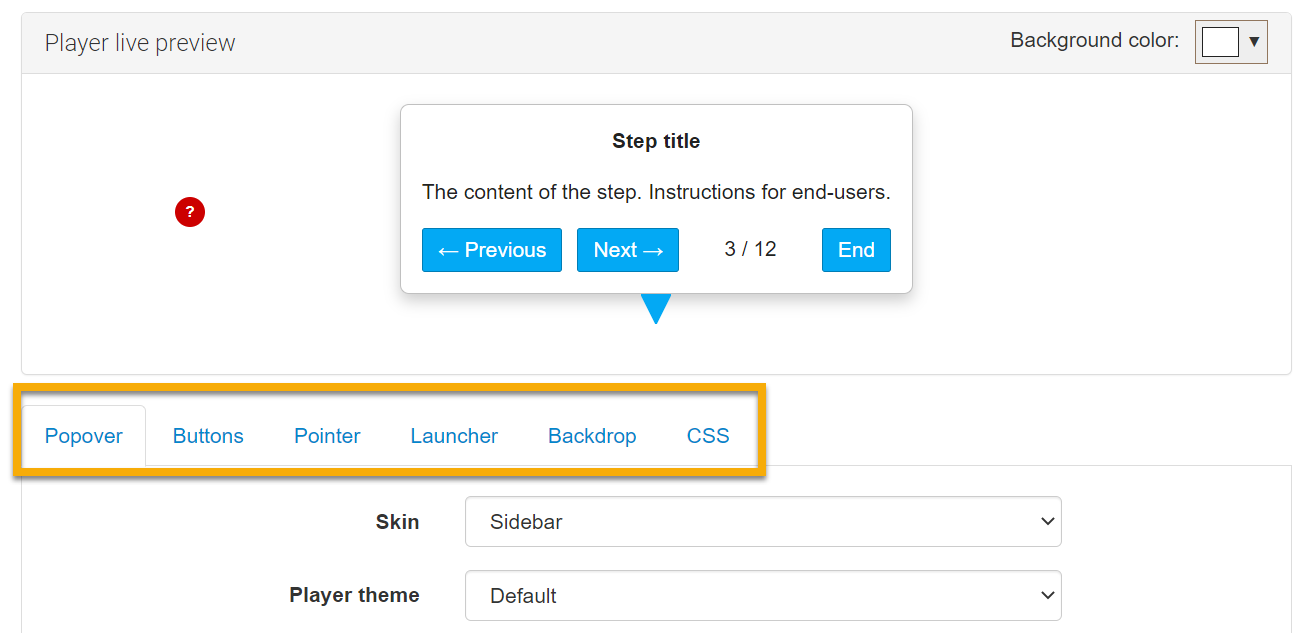
Go tab-by-tab, adjusting any fields in the new Site if they don't match those in the original.
Once you've finished with a particular tab in the new Site, make sure to press the Save button at the bottom of it. Each tab in the Player appearance must be saved individually, so don't forget!
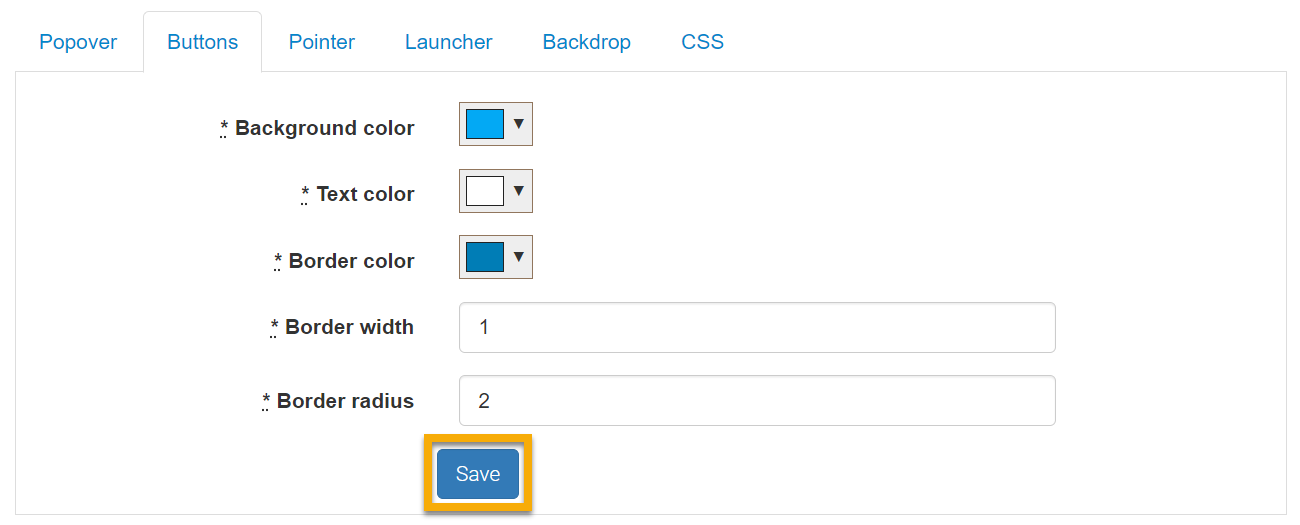
The last tab in Player appearance settings is CSS. If the original Site has any code entered into the "Custom CSS" field, make sure to copy and paste it into the same field of the new Site to make sure all of your CSS customization is reflected there.
- Player languages:
The Player languages section allows you to set up localizations of your Topic and Widget content and override the default English text that Inline Manual provides for buttons and other user interface elements. You can learn more in our guide on Player languages and localization.
In both the original and new Sites, edit the English localization by clicking the Pencil icon:

Scroll through the page and make sure that the new Site matches the original, editing fields as necessary. When you're finished, make sure to Save any changes to the localization on the new Site before you navigate away by clicking the button at the bottom of the page.
If your original Site has additional localizations, you'll need to add localizations to the new Site that are exactly the same, repeating the above process for each to make sure they match the original Site's.
- Player version:
In the Player version section of the original Site, check to see which version of the Player you're using:

The Beta version of the Player includes features not available in the stable release of the Player. If your original Site uses the Beta version of the Player, you'll want to enable it for the new Site, saving your changes after ticking the box.
- Player settings:
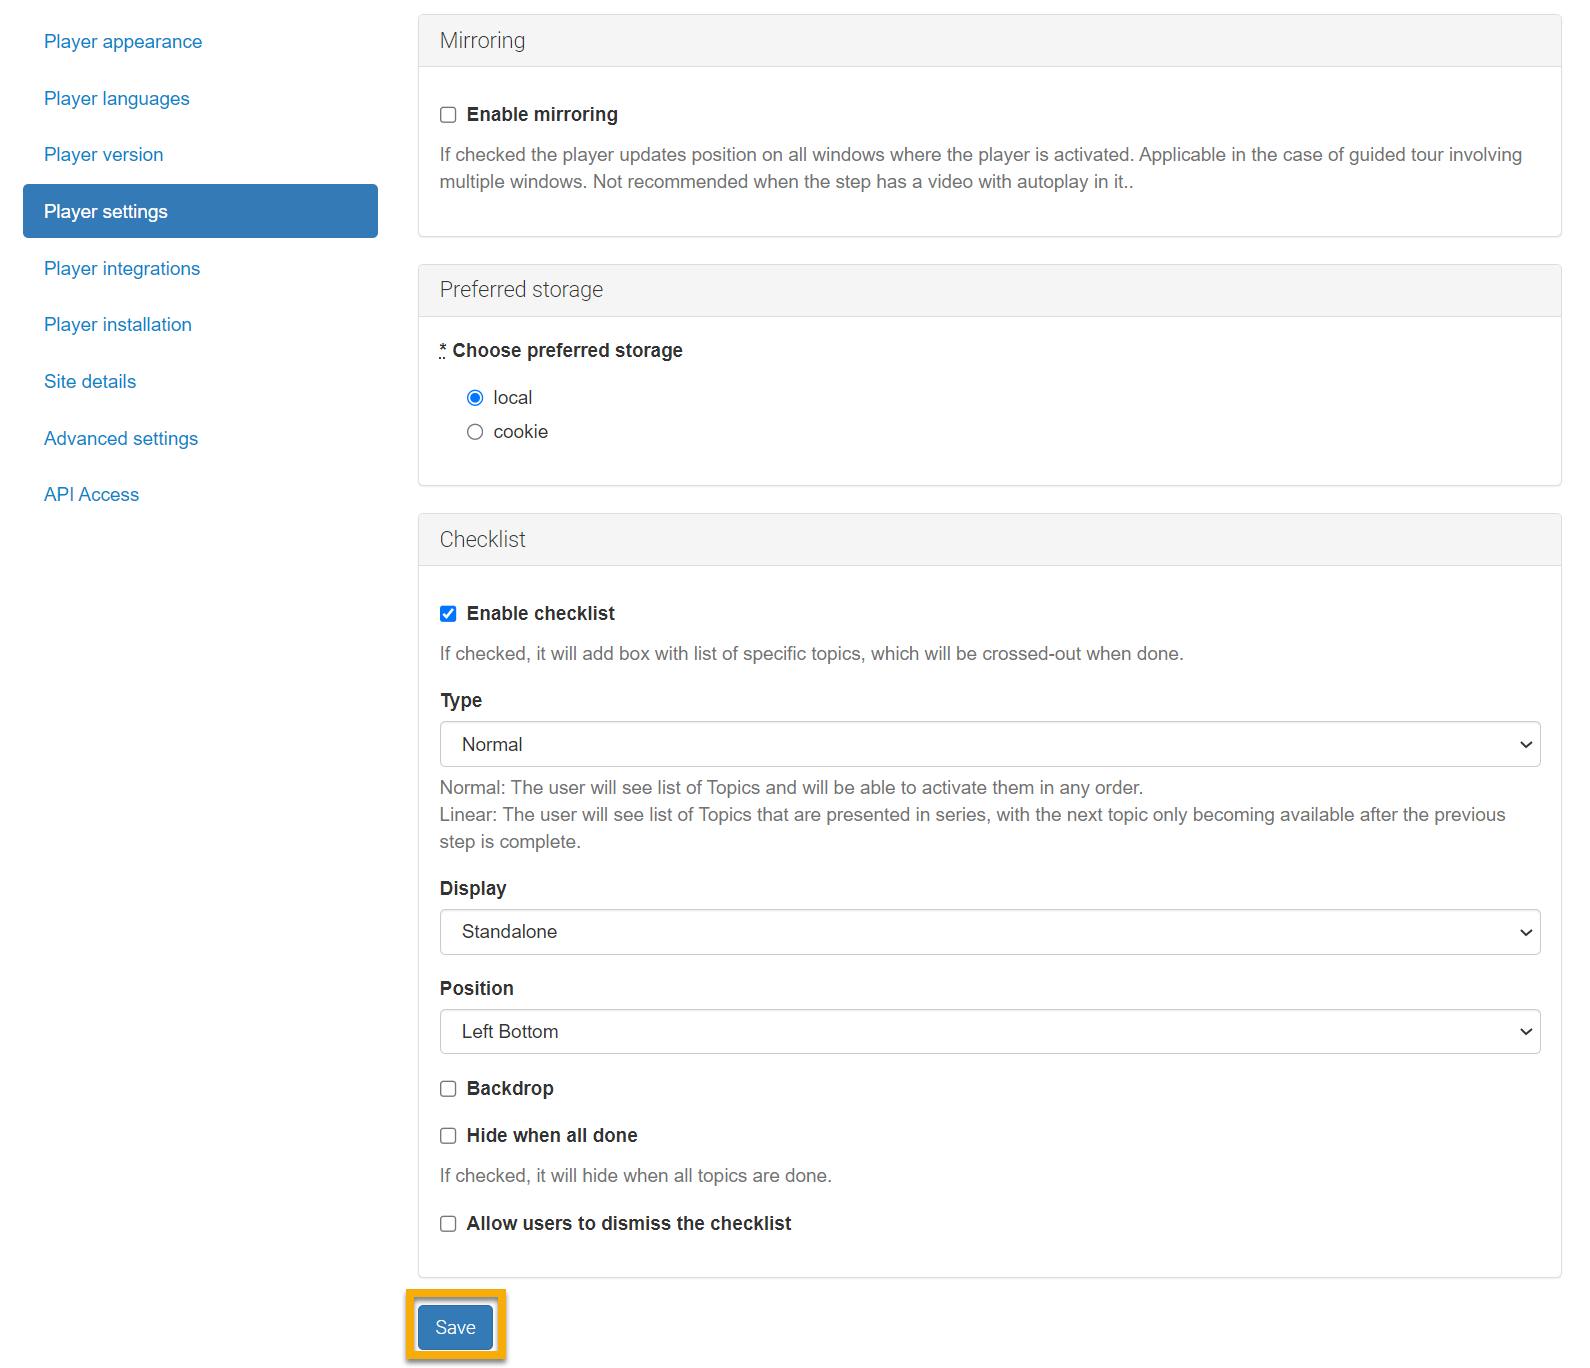
Player settings allow you to enable mirroring for Steps and the Widget, choose your preferred storage method, and enable the Checklist. You can learn more about these options in detail in our Player settings guide.
If you have the Checklist enabled on your original Site (as in the example screenshot below), enable the Checklist for the new Site and duplicate all the Checklist settings. Read our guide on the Checklist for more information about these fields.
Make sure to Save your changes by clicking the button at the bottom of the Player settings section.
- Player integrations:
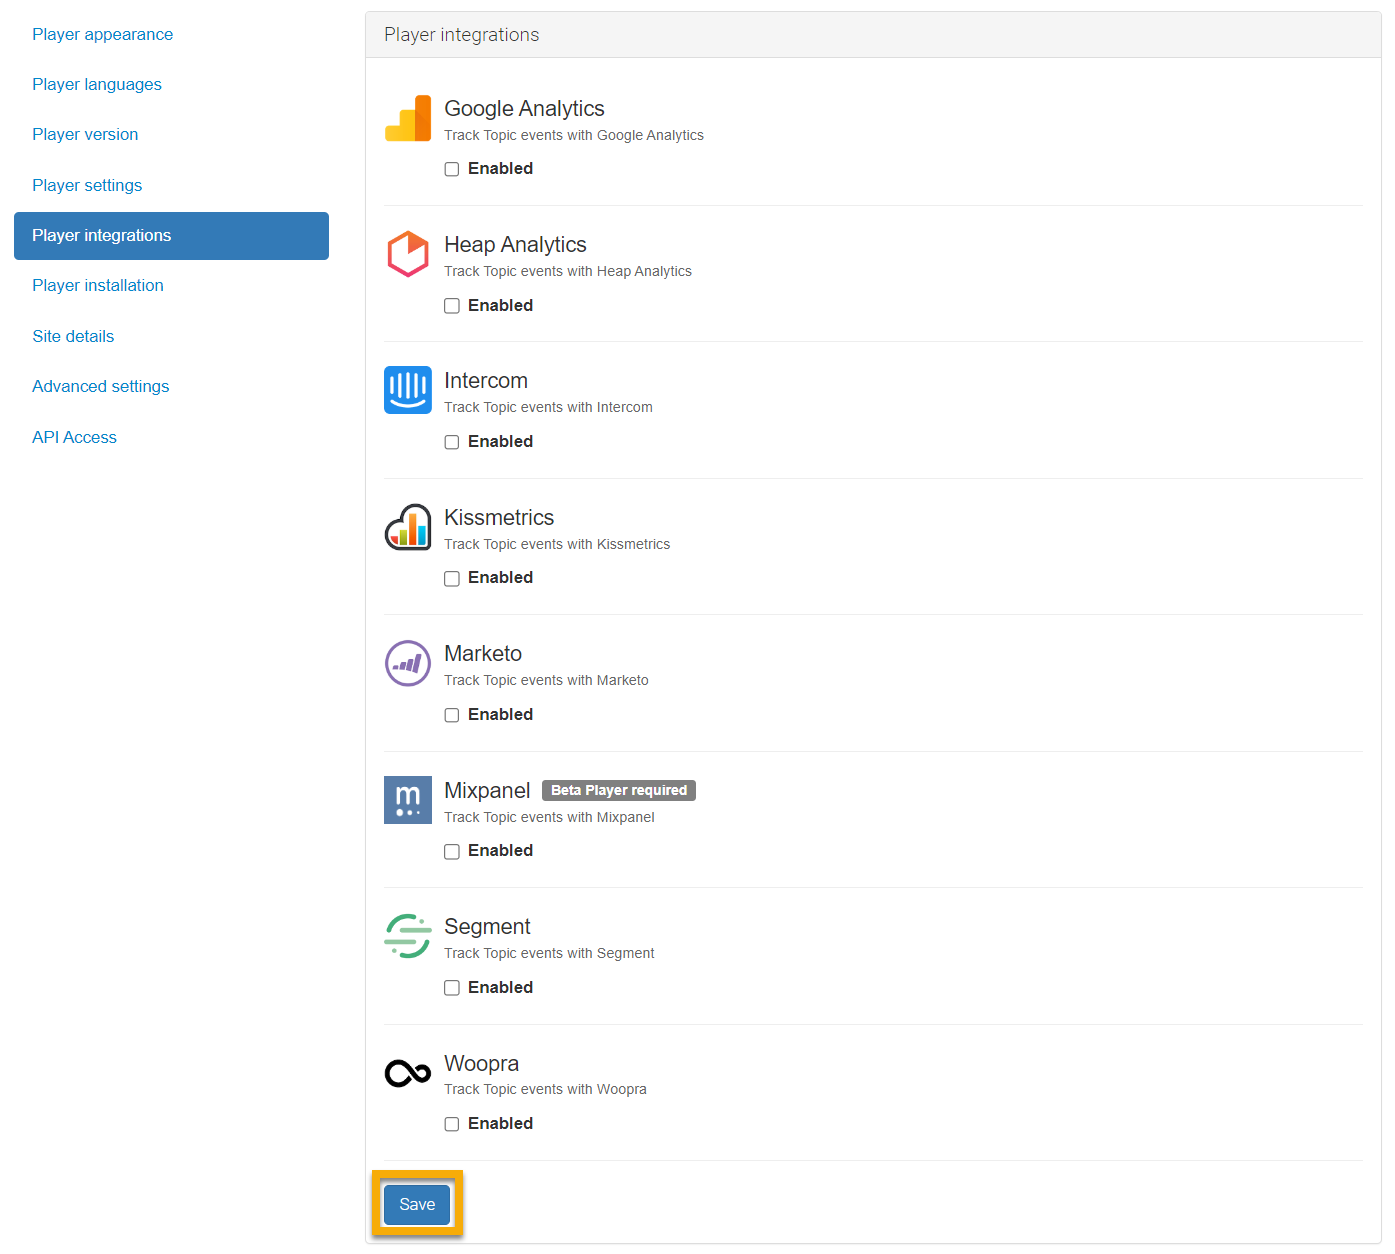
The Player integrations section allows you to enable supported 3rd party integrations in your application.
If you have any 3rd party integrations enabled in the original Site and those integrations will also be used in the new Site, make sure to enable those same integrations and Save your changes.
- Advanced settings:
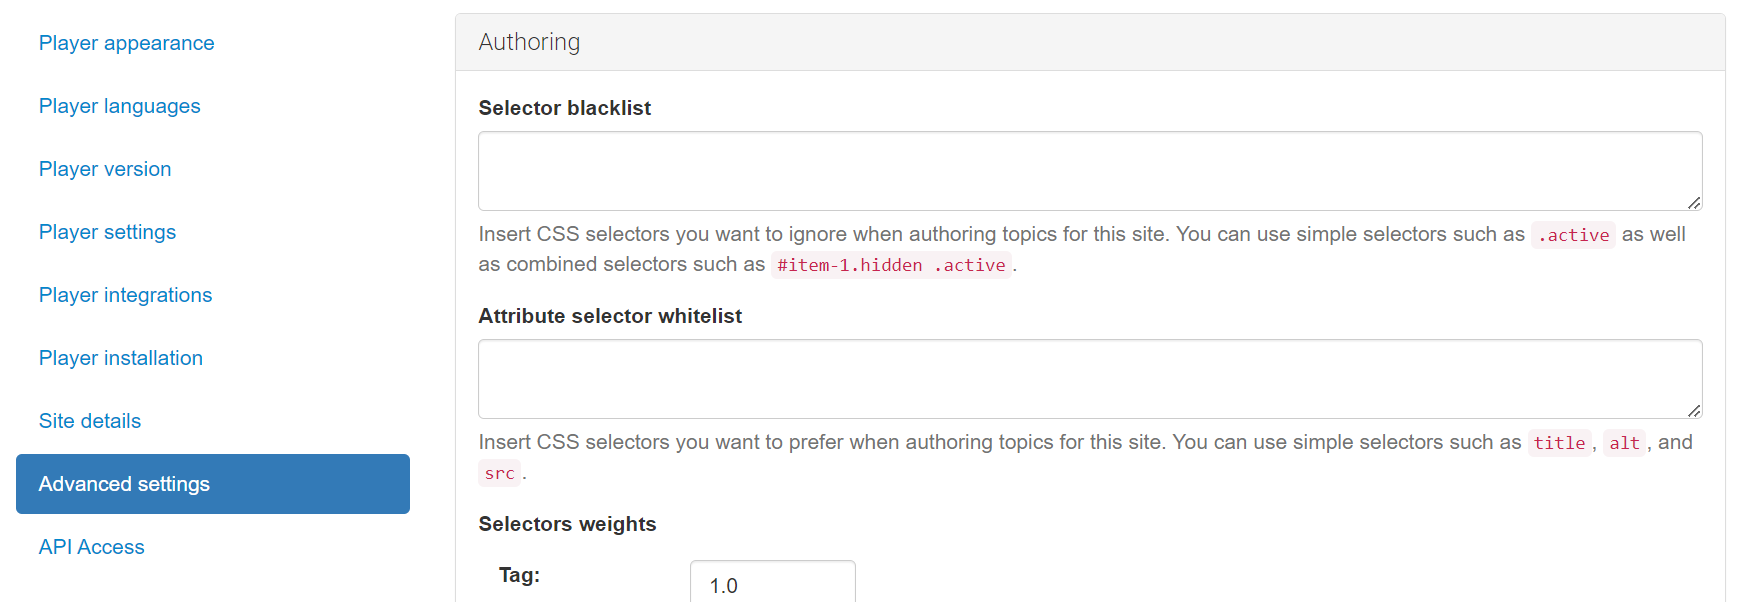
The Advanced Settings section offers powerful options for customizing how Inline Manual works. Get detailed information about these features in our Advanced settings guide.
Compare the state of your original Site's Advanced settings and all fields and ensure the new Site matches them. As always, Save at the bottom of the page when finished.
Now you're finished with the Settings tab!
Widget Settings (Optional)
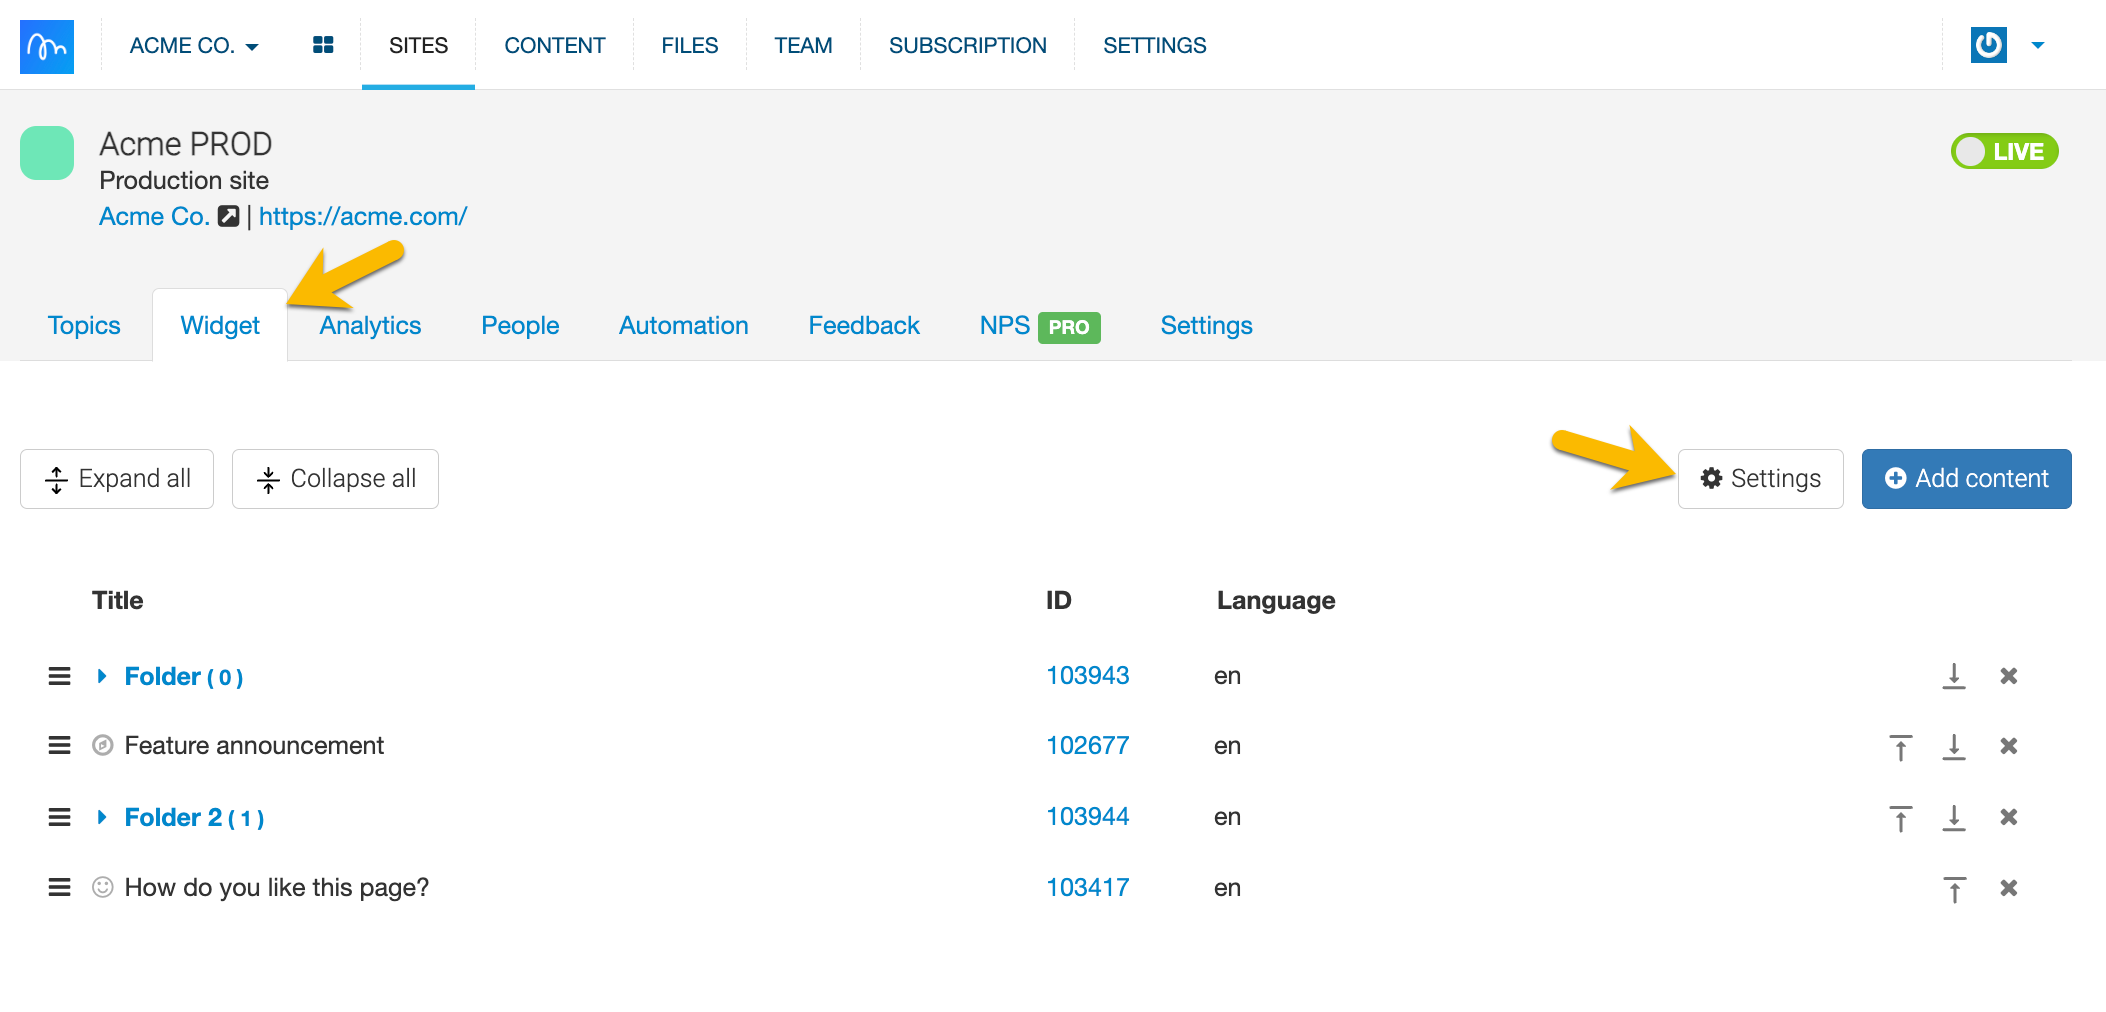
If your original Site uses the Widget, you'll want to duplicate its settings. Navigate to the Widget tab and click the Settings button on your original and new Sites.
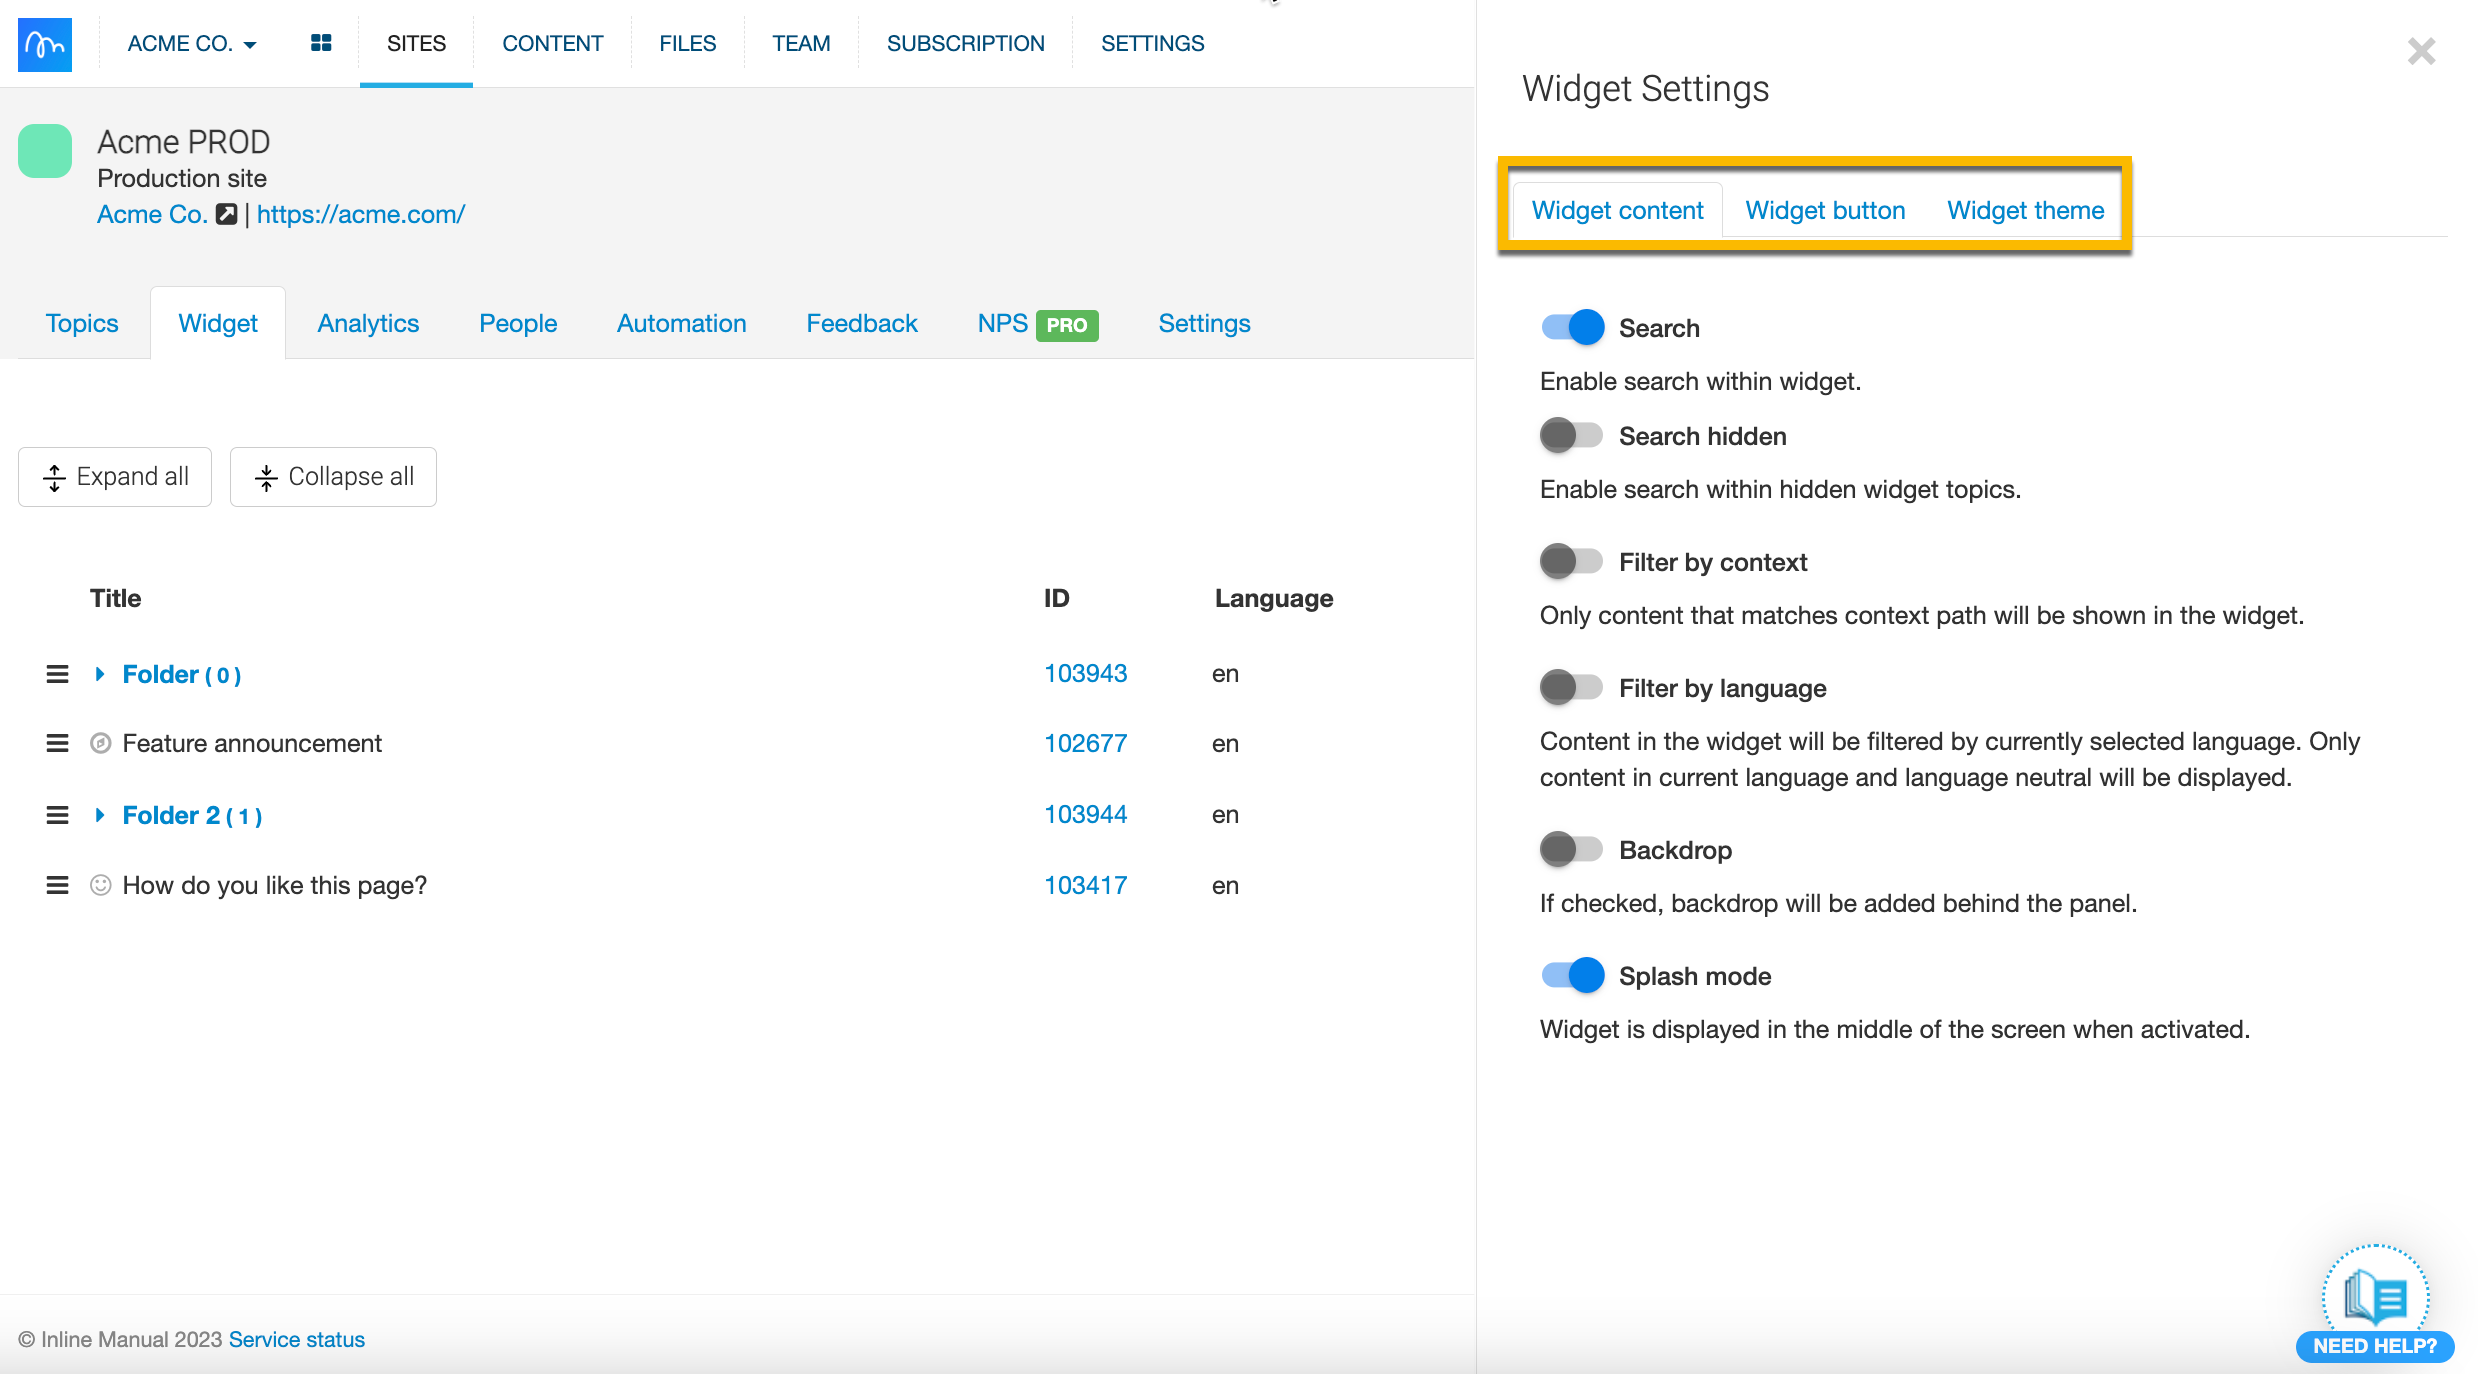
The Widget's settings consist of three tabs: Widget content, Widget button, and Widget theme. Make sure to look through each tab on your original Site and adjust your new Site's Widget settings so that they're a match.
And that's it! You've successfully duplicated your original Site.